Pages

Wednesday 21 December 2011

DAMN! Don't my cupcakes look good?!

Wow! I know I'm supposed to be modest and all that but wow! My cupcakes look gooooooood! And that's all thanks to my wonderful photographer friend Bola who I put to work on her short trip to London a month ago! Who would've have known all those years ago when we met in school that she'd come in handy one day? ;p

If she makes my cupcakes look this good, you can only imagine what she does with people! Actually, you don't have to imagine, go check out her work here NOW!

I'm afraid this is it from me till January. Have a WONDERFUL Christmas all and an incredible New Year! And not just the 31st of this year but an incredible whole of next year!

Thank you so much for reading my blog and commenting and I'll be posting lots of new and interesting stuff in the new year!


Monday 5 December 2011

Puffy Peanut Butter, Chocolate Chip and Golden Oreo Cookies


Lemme tell you something about these cookies.They're great! So great that ...

1) They have turned mere mortals into baking converts! I first made these with Susan (She's obsessed with peanut butter, carrot cake and thinks she is amazing ;p). She wanted a total peanut butter hit so we put peanut butter chips, peanut M&Ms and Reese's Pieces in them (That's another great thing about these cookies, feel free to swap the chocolate chips and Oreos for other things - smarties, m&ms, chunks of your favourite bar of chocolate, anything!).
They were so simple to make that when they were all ready and in the oven, she kept saying: "But that can't be it. We can't be finished already". But that was it. We really were finished. They really are that simple! Half an hour after you start, you've got hot cookies!

And FYI, Susan has gone on to bake white chocolate and macadamia nut cookies, peanut butter banana bread and a French yogurt cake. All because of these cookies ;p

2) God himself endorses these cookies! Well, I like to think He endorses everything I bake but I made these for Church and got a text from the Pastor's wife (Monica) that evening saying how good they were. And then a couple of days later, the Pastor himself (Mark) texted to say he really enjoyed them. I don't think Mark has eaten any of my baking before and I just assumed he didn't have a sweet tooth but a couple of weeks later, Monica asked for the recipe as Mark had been hassling her to make them.

So there you have it. Make these cookies!

Quick aside - Isnt' it funny how in this post, I was lamenting my genetic inability to bake cookies and muffins and now I'm like the cookie queen! Cookie queen is a title I'm trying on for size and I really like it!


Adapted from How Sweet It Is

Makes about 20 cookies

2 cups plain flour
1/2 tsp baking soda
113g butter
6 tablespoons of creamy peanut butter (I bought crunchy by mistake and I like to think it gave it a little sumthin' sumthin')
1 cup brown sugar
1/2 cup caster sugar
1 egg + 1 egg yolk, at room temperature
2 teaspoons vanilla extract
1/2 cup milk chocolate chips
1/2 cup dark chocolate chips
1/2 cup Golden Oreos broken into bits. Regular Oreos would work too.


1 - Preheat oven to 170C / Gas Mark 3 / 325F. Line your baking trays with grease proof paper.
2 - Add peanut butter and butter to a microwave safe bowl, then heat in 30 second increments until melted. Let cool completely.
3 - Mix the flour and baking soda in a bowl and set aside.
4 - In another bowl, mix the the cooled butter/peanut butter and sugars until they are combined. Add the egg, egg yolk, and vanilla and stir until mixed.
Gradually add flour and mix until a dough forms - it will look crumbly at first, but it will come together. Use your hands to bring it all together if you want.
5 - Fold in chocolate chips and Oreo bits.
6 - Shape the dough into balls the size of a golf ball.
Place on your baking tray two inches apart and bake for 10-12 minutes or until the edges are slightly brown. The centres should be soft and puffy. Do not over bake. Let cool completely.

Saturday 26 November 2011

Orange Marmalade Rolls

Happy belated Thanksgiving y'all! (Please don't ask why I'm pretending to be from the American South  - it just seemed right so I went with it)

As usual, I didn't celebrate Thanksgiving; despite saying EVERY SINGLE YEAR that I will start a tradition of cooking Thanksgiving fare and inviting friends round. Perhaps I should make that 2012's resolution?

I also really should get my act together and at least celebrate holidays on my blog! Surely, I could have made something Thanksgiving-y and posted it on Thanksgiving day right? Okay, adding 'celebrate holidays on my blog' to my non existent New Years Resolutions list!

I wasn't going to post this because as you can see, my orange marmalade rolls didn't look exactly as they were supposed to. I decided to because imperfection is a part of everything. Even baking. Especially baking. Hopefully you'll learn from my mistakes and you and I can do it better next time!

I know you guys think I'm perfect, and I never get anything wrong ... right? Oh you don't? Moving swiftly on :) Seriously though, people do think that everything I bake turns out perfectly and I never have disasters but that couldn't be further from the truth! My only saving grace is that I am often able to salvage (read: hide) those disasters. And other times, like now, something may not look as it should but it still tastes damn good! And isn't that the whole point of baking after all? :)

FYI, I think my mistake with this was rolling out the dough too thin so I struggled to roll it up and cut it into slices. I love everything in the 'roll' family so I'll be making lots more of these. And hopefully they'll be better looking!

If you're anything like me, you find recipes with yeast slightly threatening but believe me when I say these were very easy to make! And so yummy!

Recipe from The Pioneer Woman Cooks


For the rolls
473ml Whole Milk
1/2 cup vegetable oil
1/2 cup sugar
7g active dry yeast
4 cups (plus 1/2 cup extra, separated) plain flour
1/2  teaspoon (generous serving) baking powder
1/2 teaspoon (scant serving) baking soda
1/2 tablespoon (generous) salt
8 tablespoons orange marmalade
1/2 cup melted butter
1 cup brown sugar
1/2 teaspoon salt

Orange Glaze
900g icing sugar
6 tablespoons melted butter
1/2 cup milk
1/2 cup orange juice
1 dash salt

1 - Mix the milk, vegetable oil and sugar in a pan. Scald the mixture (heat until just before the boiling point). Turn off the heat and leave to cool for 45 minutes to 1 hour.
2 - When the mixture is lukewarm to warm, but NOT hot, sprinkle in the yeast. Let this sit for a minute. Then add the 4 cups of all-purpose flour. Stir mixture together.
Cover and let rise for at least an hour.
3 - After rising for at least an hour, add 1/2 cup of flour, the baking powder, the baking soda and salt. Stir mixture together. (At this point you could cover the dough and put it in the fridge until you need it - overnight or even a day or two, if necessary. Just keep your eye on it and if it starts to overflow out of the pan, just punch it down).
4 - When ready to prepare rolls, sprinkle rolling surface generously with flour. Take half the dough and form a rough rectangle. Then roll the dough thin, maintaining a general rectangular shape.

5 - Spread marmalade over the top. Pour on butter, and then sprinkle the brown sugar evenly. Sprinkle with salt

6 - Beginning at the long side furthest from you, roll the dough into a long roll toward you; being careful to keep it tucked tightly. Pinch edge to seal.
7 - Cut rolls into 1 to 1 1/2 inch rolls and place into buttered pans. Allow to rise for at least 20 mins.
8 - Bake at 190C / Gas Mark 5 / 375F for 15 to 18 minutes, or until golden brown (but not overly brown).
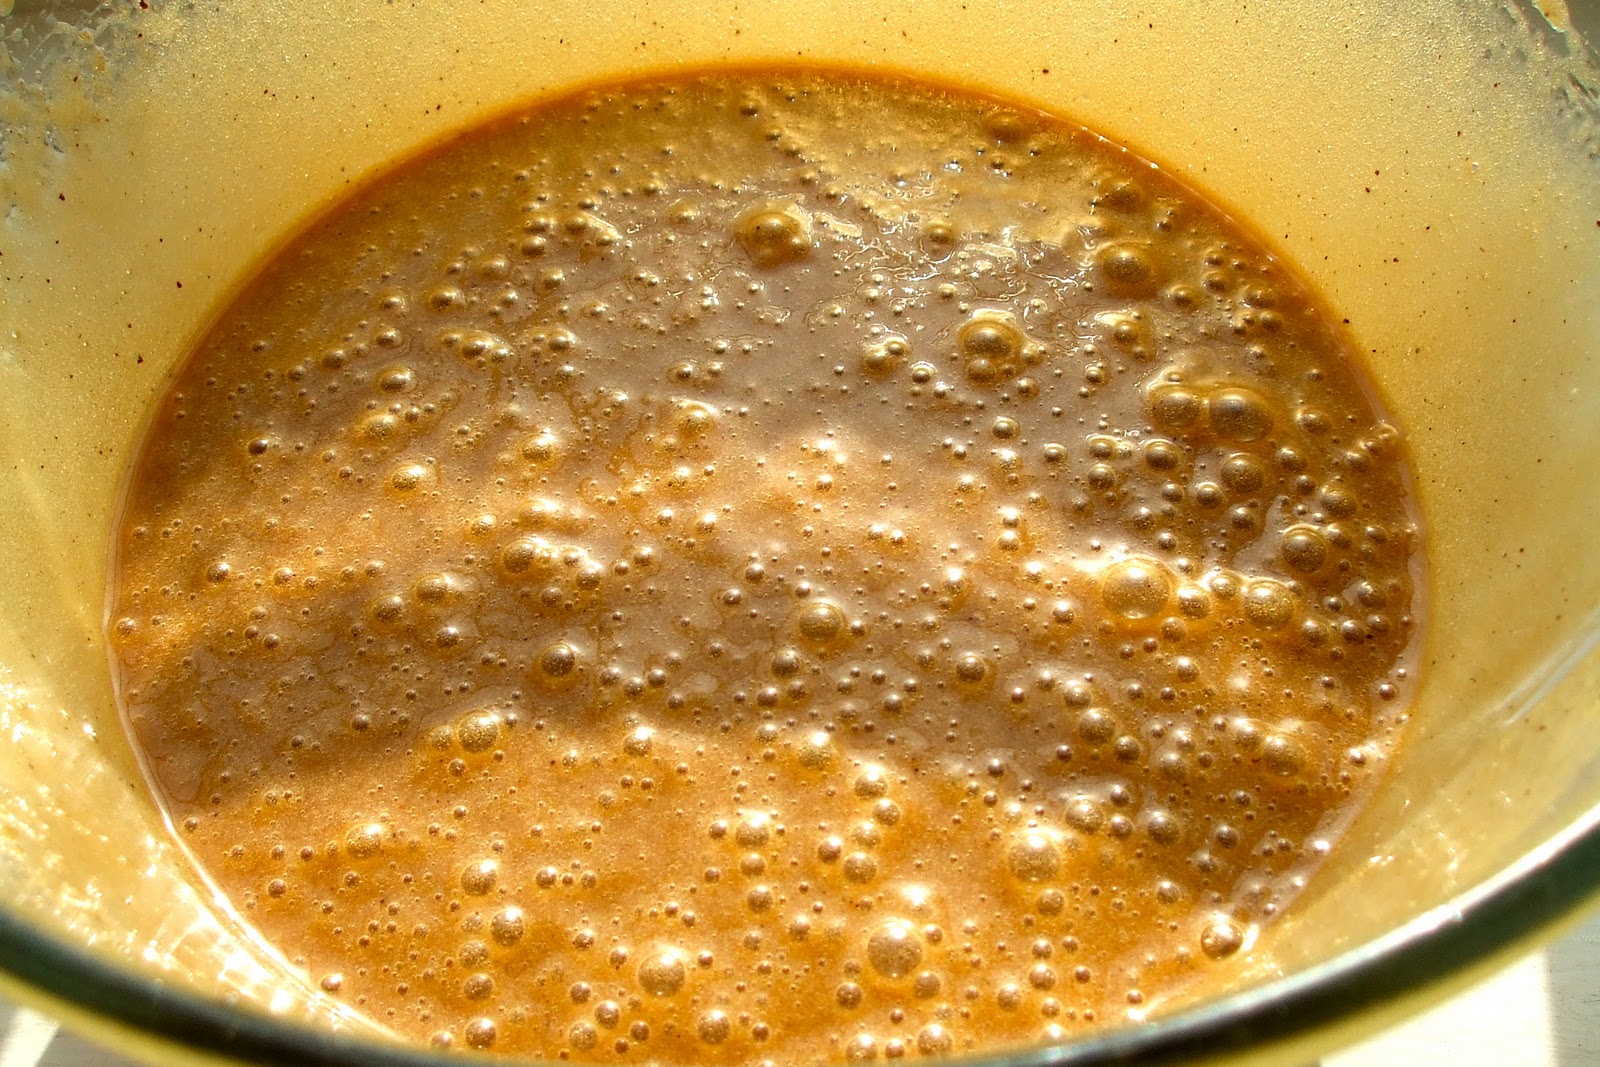
9 - While baking, mix together the ingredients for the orange glaze, thinning with more milk or orange juice to make mixture thin enough to be pourable.
10 - Immediately drizzle orange glaze over the top. Serve warm or at room temperature.

Sunday 6 November 2011

Snickers Cookies and Marathon Running

I officially lost my mind a couple of weeks ago ... more than usual, I mean.

My sister got a charity place with the Salvation Army on the London 2012 marathon and had been trying to convince me to do it with her. "No way Jose" was my (very sensible) reaction. I've always wanted to run a marathon - just once - and boy will I milk that one time marathon every day for the rest of my life.

"When I ran a marathon ..." will be how I reply to questions from friends about where we should go for dinner.
"I learnt several things when running a marathon; the most important of which ..." will be how I start the debate with my future toddlers about why they should eat their vegetables. 
You get the point :)

Anyway, I wasn't ready to run a marathon just yet. And then I spoke to my sister one day and she gave me a spiel about how this wasn't just any marathon but it was LONDON TWO THOUSAND AND TWELVE, Olympic year, no London marathon would ever be the same ... blah blah. Long story short, don't ever give my sister the chance to convince you to do something because ... oh, sorry, went off on a tangent there, long story short, on the 22nd of April 2012, I will be running the longest I have ever run in my entire life. Hey, if a 100 year old man can do it, I can too right? Right?

Anyway, the only plus side to running a marathon is I've heard that with all the training, I can pretty much eat what I want without putting on weight; which will mean lots of cookies whoop whoop. Check these out - if you like Snickers, the big soft biteful in the middle of these cookies is amazeballs :)

Recipe from Bakers Royale who adapted it from Cook's Illustrated.

Makes 24 - 30 3inch cookies
Prep: Heat oven to 190C/Gas Mark 5/ 375F. Line baking tray with grease proof paper

Ingredients

2 cups plain flour
1/2 tsp baking soda
227g butter
3/4 cup brown sugar
1/2 cup granulated sugar
3/4 teaspoon salt
2 tsps vanilla extract
2 large eggs
5 Snickers bars, each sliced into 6 pieces
1 cup chocolate chips
1 - Combine flour and baking soda in a bowl; set aside
2 - Place 140g of the butter in non-stick saucepan over medium-high heat until melted, about 2 minutes. Continue cooking and using the handle of the pan to swirl the butter around. Swirl butter constantly until it becomes dark golden brown in colour and gives off a nutty aroma; 1 - 3 minutes. 
3 - Remove saucepan from the heat and transfer browned butter to a large heatproof bowl. Stir in the remaining butter into the hot butter until completely melted. 

4 - Add both sugars, salt, and vanilla to brown butter mixture and whisk until full incorporated. 
5 - Add eggs and whisk until mixture is smooth with no sugar lumps remaining, about 30 seconds.Rest mixture for 3 minutes, then whisk for another 30 seconds. Repeat process of resting and whisking 2 more times until mixture is thick, smooth, and shiny. 
6 - Using a rubber spatula or wooden spoon, stir in flour mixture until just combined, about 1 minute. Stir in chocolate chips giving dough final stir to ensure no flour pockets remain.
7 - Scoop out 2 tablespoons of dough, flatten it into a round disc and place a Snickers slice on top. Fold edges over Snickers to seal it. Place cookies 2 inches apart on grease proof paper lined baking trays.
8 - Bake cookies one sheet at a time until cookies are golden brown and still puffy, and edges have begun to set but centers are still soft, about 10 to 14 minutes. Cool cookies.

Monday 17 October 2011

Chocolate Cupcakes with Chocolate Fudge Frosting


You all know my favourite chocolate cake recipe is Guinness Chocolate Cake. And that is the recipe I use for most of my cupcakes and cakes. However, when I was asked to make some small cupcakes for a friend's nephew to take to school on his 6th birthday, I deduced all on my lonesome that the parents might not be too pleased with their 6 year old eating Guinness cake. Despite the fact that all the Guinness evaporates in the bakingand that it doesn't taste of Guinness *spoilsports*.

So I decided to make these cupcakes from 'The Crabapple Bakery Cupcake Cookbook'. I've made them before and my chocoholic housemate thinks they're the best chocolate cake he's ever tried! Since that accolade very clearly belongs to Guinness cake, we can dismiss his opinion as crazy but it is still pretty good compliment right?

It was fun making these cupcakes as they were so small and cute and I had a ball decorating them! I made 30 and apparently the kids at his school were so enthused that kids from other classes came in to have cake too. The amazing little birthday boy kept one cake for himself but ended up giving it to another kid who didn't get one. So he didn't get to have any of his own birthday cupcakes. I think there is a lesson in there for us all right? DO NOT SHARE CAKE! No. Not really. Caring. Sharing. More along those lines.

However, he did threaten to fight his aunt if she didn't get him more cupcakes which is how I ended up making a few more of these yesterday :)

Makes 24 normal sized cupcakes


Ingredients

For the cakes
3 cups plain flour
2 teaspoons bicarbonate of soda
1 teaspoon baking powder
1 teaspoon salt
3 teaspoons instant coffee granules
1 cup hot water
1 cup cocoa powder
1 cup cold water
200g softened unsalted butter
2 1/2 cups caster sugar
4 eggs
1 tablespoon vanilla extract

For the chocolate fudge frosting 
6 cups icing sugar (I reduced this from the original amount of 8 cups)
1 cup cocoa powder
200g softened butter
3/4 cup milk
1 tablespoon vanilla extract

1 - Preheat oven to 170C / 325F / Gas Mark 3. Line two 12-hole muffin trays with chocolate-coloured cupcake papers.
2 - Sift together the flour, bicarbonate of soda, baking powder and salt. In a separate bowl whisk together the coffee, hot water and cocoa until you have a smooth paste. Add the cold water and whisk until evenly combined.
3 - In a separate bowl, cream the butter for 1-2 minutes. Add the caster sugar a third at a time, beating for 2 minutes after each addition. After the last addition, beat until the mixture is light and fluffy and the sugar has almost dissolved.
4 - Add eggs one at a time, beating for 1 minute after each addition or until mixture is light and fluffy. Add the vanilla extract and beat until combined.
5 - Add a quarter of the flour to the creamed mixture and beat on low speed until combined. Add a third of the cocoa mixture and beat until combined. Repeat this process twice more. Add the remaining quarter of the flour and beat until thoroughly combined; do not over-beat as this will toughen the mixture.
6 - Spoon mixtures into cupcake papers, filling each about three quarters full. To prevent the cupcakes cracking on top, allow the mixture to sit in the cupcake papers for 20 minutes before baking.
7 - Bake for 18-20 minutes or until a fine skewer inserted comes out clean. Remove cupcakes from trays immediately and cool on a wire rack for 30 minutes before frosting.
8 - While cooling make the frosting. Sift the icing sugar and cocoa into a bowl.
9 - In a separate bowl, cream the butter for 1-2 minutes. Add the milk, vanilla extract and half of the icing sugar mixture, and beat for at least 3 minutes or until the mixture is light and fluffy.
10 - Add the remaining icing sugar and beat for a further 3 minutes or until the mixture is light and fluffy and of a spreadable consistency. Add extra milk if the mixture is too dry or extra icing sugar if the mixture is too wet.

Saturday 8 October 2011

Pumpkin Streusel Bars


I realised as I typed up this recipe that I got it kinda wrong when I baked it - oops. Instead of removing 3/4 cup of the crumble mixture and reserving it for the topping, I removed 3/4 of the mixture. Yup, three quarters of the entire crumple mixture made it on to the top of my bars! Which didn't affect the taste but it sure made for some crumbly bars! I took these to church and honestly, the mess we left on the floor ... sorry! My sincerest apologies to whoever had to hoover the carpet after!

So yeah, if you guys make this recipe, please be smarter than me. Thanks :)

These are some good bars! I love the taste of all things pumpkin so I was always going to like these but other people did too. I got a couple of "your best yet" comments which are really sweet but leave me thinking "hang on what about all the other things I've baked?" But funnily, I don't think many people realised they were pumpkin. One person was insistent that there was banana in it. Somebody else said they loved the peanut butter flavour and one last person loved the custard :) I guess we don't bake with pumpkin much over here so it is pretty unusual.

These are easy to make so I'd definitely recommend giving them a go! And they taste much better the next day!

Recipe from another one of my favourite blogs; Bakers Royale

Ingredients

2 cups flour
1/2 + 1/4 cup sugar
3/4 cup of dark brown sugar, packed
3/4 cup cold butter
1 1/2 cup oats
3/4 cup pecans, toasted and finely chopped
226g cream cheese
1 can pumpkin puree (available in the UK at Waitrose)
2 tsps cinnamon
1 tsp ginger
1/2 tsp ground allspice
pinch cloves
1 tsp vanilla
1 cup butterscotch chips (I used white chocolate chips instead)

1 - Pre-heat oven to 180C / Gas Mark 4 / 350F. Line a 13 x 9 baking tin with grease proof paper - letting the grease proof paper hang 1 1/2 inches over each side.
2 - In a bowl, combine the flour, 1/2 cup of sugar, brown sugar
Using your fork or your fingers or a pastry blender, cut in the butter until the mixture resembles coarse crumbs. Stir in oats and pecans.
3 - Remove 3/4 cup of the mixture and add in butterscotch / white chocolate chips.
Set aside and reserve for topping. Press remaining mixture into bottom of parchment lined pan. Bake for 15 minutes.
4 - Combine cream cheese and pumpkin; add remaining sugar, cinnamon, ginger, all spice, cloves and vanilla and mix until well blended.
Pour over the crust and bake for 15 minutes.
Sprinkle reserved oat crumb mixture and continue to bake for another 15 minutes.
5 - Cool in pan for 10 minutes and then transfer to a cooling rack. Let cool completely before storing. Cut into squares and serve.

Sunday 2 October 2011

Boston Cream Pie


Has anyone seen the new movie 'I don't know how she does it'? Apparently Sarah Jessica Parker's character is obsessed with lists which help her juggle her wife, mother and busy professional balls. I totally get her. I too, am obsessed with lists!

At present, I have 22 lists in my iPhone 'notes'. They range from my permanent shopping list to a list of songs I want to download and a bunch of quotes that I love and want to keep to hand (sample: "According to aeronautical experts, a bumble bee cannot fly because of the asymmetric relationship between its body shape, size and wing span. She doesn't know this however, and flies anyway").

As usual, there is a link (albeit, as usual, tenuous) between my enlightened write-up random chit chat and today's recipe. And that is my 'to cook/bake' list. This list contains the recipes that jump out at me from all the numerous recipes I book mark and post-it-mark in my cookbooks. If I love it, it goes on here so that I remember it when I have time to bake 'just because'. And this Boston Cream Pie (not a pie, as the name misleadingly implies, but a cake) has been on my list for a very long time!

It is from my favourite Nigella book and as usual the recipe didn't let me down. I LOVE the creme patissiere filling but for some reason, the oil seemed to separate from the butter and chocolate in my ganache so it looked very oily. A few hours later, it was fine but you will notice the oily sheen in my pictures. If anyone knows why this happened, please enlighten me. I should also point out I always struggle with ganache so maybe it's just me!

Happy Sunday folks!


Recipe from Nigella Lawson's 'How to be a Domestic goddess'

Ingredients
  • For the cake
  • 225g unsalted butter, very soft
  • 225g caster sugar
  • 1 teaspoon vanilla extract
  • 4 large eggs
  • 200g self-raising flour
  • 25g cornflour (Nigella believes the combination of flour and cornflour makes for a lighter, more tender sponge but it is fine to replace this with 225g self raising flour, as I did)
  • 3 - 4 tablespoons milk

For the icing
  • 150ml double cream
  • 1teaspoon vanilla extract
  • 1 teaspoon unsalted butter
  • 150g dark chocolate

For the creme patissiere
  • 125ml milk
  • 125ml double cream
  • 1 vanilla pod or 1 teaspoon vanilla extract
  • 3 large egg yolks
  • 50g caster sugar
  • 15g plain flour


The cake
1 - Preheat the oven to 180C/gas mark 4. Grease and flour 2 x 21cm sandwich tins
2 - Cream the butter and sugar, add the vanilla and then the eggs, one at a time, adding a spoonful of flour between each
3 - Fold in the rest of the flour (and the cornflour if using), and when all is incorporated, add a little milk as you need.
4 - Pour and scrape the batter into the tins

bake for about 25 minutes, until the cakes are beginning to come away at the edges, are springy to the touch on top and a cake tester comes out clean..

Creme Patissiere
5 - When the cake is in the oven, warm the milk and cream in a saucepan along with the vanilla pod split length-wise.


 6 - Bring to the boil, then remove from the heat, cover and let stand to infuse for 10 minutes. If you're not using the pod, add the vanilla extract later, when you've combined all the ingredients.

7 - In a large bowl, whisk the yolks and sugar until creamy,

and then beat in the flour.

8 - With the point of a small, sharp knife, scrape the seeds out of the vanilla pod into the milk, and add this warm milk to the egg mixture and whisk until smooth

9 - Pour back into the saucepan and stir or whisk gently over a low heat until the custard thickens.
Remove from the heat and let the custard cool by pouring it into a wide bowl and tearing off some greaseproof paper, wetting it, then covering the bowl with it. This stops it forming a skin. Don't put it in the fridge.

10 - When the cakes are done, sit them in their tins on a wire rack for 5-10 minutes, then turn out and cool directly on the rack. When the cakes and the creme patissiere are cool, you can make the chocolate ganache.

Chocolate Ganache
11 - Warm the cream, vanilla extract and butter with the chocolate, chopped into small pieces, and bring to the boil in a thick-bottomed saucepan, by which time the chocolate should have melted.

12 - Remove from the heat and whisk till smooth and thickened. Let cool a little before using, but you still want it runny enough to ice with

13 - Sit one of the cakes on a plate or cake stand and spread with the cooled creme patissiere,


then top with the second cake. Dollop spoonfuls of the chocolate icing on top, letting it spread and drip down the sides of the cake

Serves 8