I seem to be turning my blog into a bit of a confessional
- it's just as well not too many people read it! See here for my addiction
admission, and here for my geek declaration.
As three is my lucky number, I thought "why not make it a hat trick?",
after all, third time's the charm ;p So here's another confession ... wait for
it ... okay, here goes:
While in life generally, I'm more of a delayed
gratification kind of gal, when it comes to food, I'm pretty greedy. I want
everything I like, all together, and I want it now!! Don't judge me!
So words like ‘Oreo cupcake’ are music to my ears.
It can only be a WIN-WIN ... I love Oreo cookies and I love cake; it's a
no-brainer really.
However I have had some disappointing experiences
with Oreo cupcakes at a London
cupcakery. Biscuits are dry so with the wrong recipe, you can end up with a
rather dry cake with dry bits in it making for a pretty dry experience. Oreos
are also very sweet so when you combine them with a really sweet buttercream -
it can make for a rather sickingly sweet cake and trust me, there is such a
thing as too sweet.
This is where my newest baking blog crush (yeah
yeah I know I'm turning into a bit of a chef whore ;p) comes in. I first
happened across this recipe on Annie's Eats and since then, I've pretty much stalked ahem, I mean researched her archives
and come up with no less than 15 recipes that I want to try!
This recipe is genius. First of all it has half
an Oreo (the half with the cream) in the bottom of the cupcake liner, chunks of
Oreos all the way through and it is topped with half an Oreo. It also has a
cream cheese frosting which balances out the sweetness of the cake and biscuits
really well. Everybody LOVED these
cookies so try them if you're trying to impress! It's quite a dense cake rather
than light and fluffy but that works really well and the textures of the cake
with the cookie at the bottom and all the way through are pretty amazing! My
friend described it as a "fusion of textures" and another friend
promptly demanded the recipe to make them the very next weekend.
I just realised that this recipe is originally from another one of my blog baking idols; Beantown Baker! Sorry Jen for mis-assigning credit for this. And I just have to say that every time I have made these, I have received compliments like 'The best cupcake I have ever eaten', 'divine' etc. Every. Single. Time. So thank you for an incredible recipe!
A couple
of notes:
- The recipe calls for 3 egg whites and
when I asked Annie why not use whole eggs; she wasn't sure but thought it might
have something to do with keeping the cake a nice white colour. I suspect the
addition of whole eggs rather than just the whites would make the cake lighter
and fluffier so it's worth a try. I'm definitely making these again so I'll let
you know how it goes using whole eggs.
- I had some Golden Oreos left over from my
last visit to the States so I mixed them in with the regular Oreos but I think
these would taste really amazing made entirely of golden Oreos so you lucky
people who live in the US, give them a go with Golden Oreos. And make sure you
let me know how they turn out!!
24 cupcakes
Ingredients
For the cupcakes:
24 Oreo halves, with cream filling attached
2¼ cups all-purpose flour
1 tsp. baking powder
½ tsp. salt
8 tbsp. unsalted butter, at room temperature
1 2/3 cup sugar
3 large egg whites, at room temperature
2 tsp. vanilla extract
1 cup milk
20 Oreo cookies, coarsely chopped (I quarter them)
For the frosting
226g cream cheese, at room temperature
6 tbsp. unsalted butter, at room temperature
1 tbsp. vanilla extract
4 cups icing sugar
2 tbsp. double cream
For garnish
Oreo cookie crumbs
24 Oreo cookie halves
1 - Preheat the oven to 180˚ C/Gas Mark 4. Line
the wells of two cupcake pans with 24 paper liners. Place an Oreo halve
in the bottom of each liner, cream side up.
2 - In a medium bowl, combine the flour, baking
powder and salt; stir together with a fork to blend and set aside.
3 - In the bowl of an electric mixer, combine the
butter and sugar and beat together on medium-high speed until light and fluffy,
about 2 minutes.
4 - Blend in the egg whites one at a time, beating
well after each addition.
5 - Blend in the vanilla extract.
6 - With the mixer on low speed, beat in half of
the dry ingredients just until incorporated. Add the milk and beat just
until combined, then mix in the remaining dry ingredients.
7 - Gently fold in the chopped Oreos with a rubber
spatula until evenly incorporated, being careful not to over-mix.
8 - Evenly divide the batter between the prepared
cupcake liners. Bake for 18-20 minutes, rotating the pans halfway through
baking, until a toothpick inserted in the centre comes out clean.
9 - Allow to cool in the pans 5-10 minutes, then
transfer to a wire rack to cool completely.
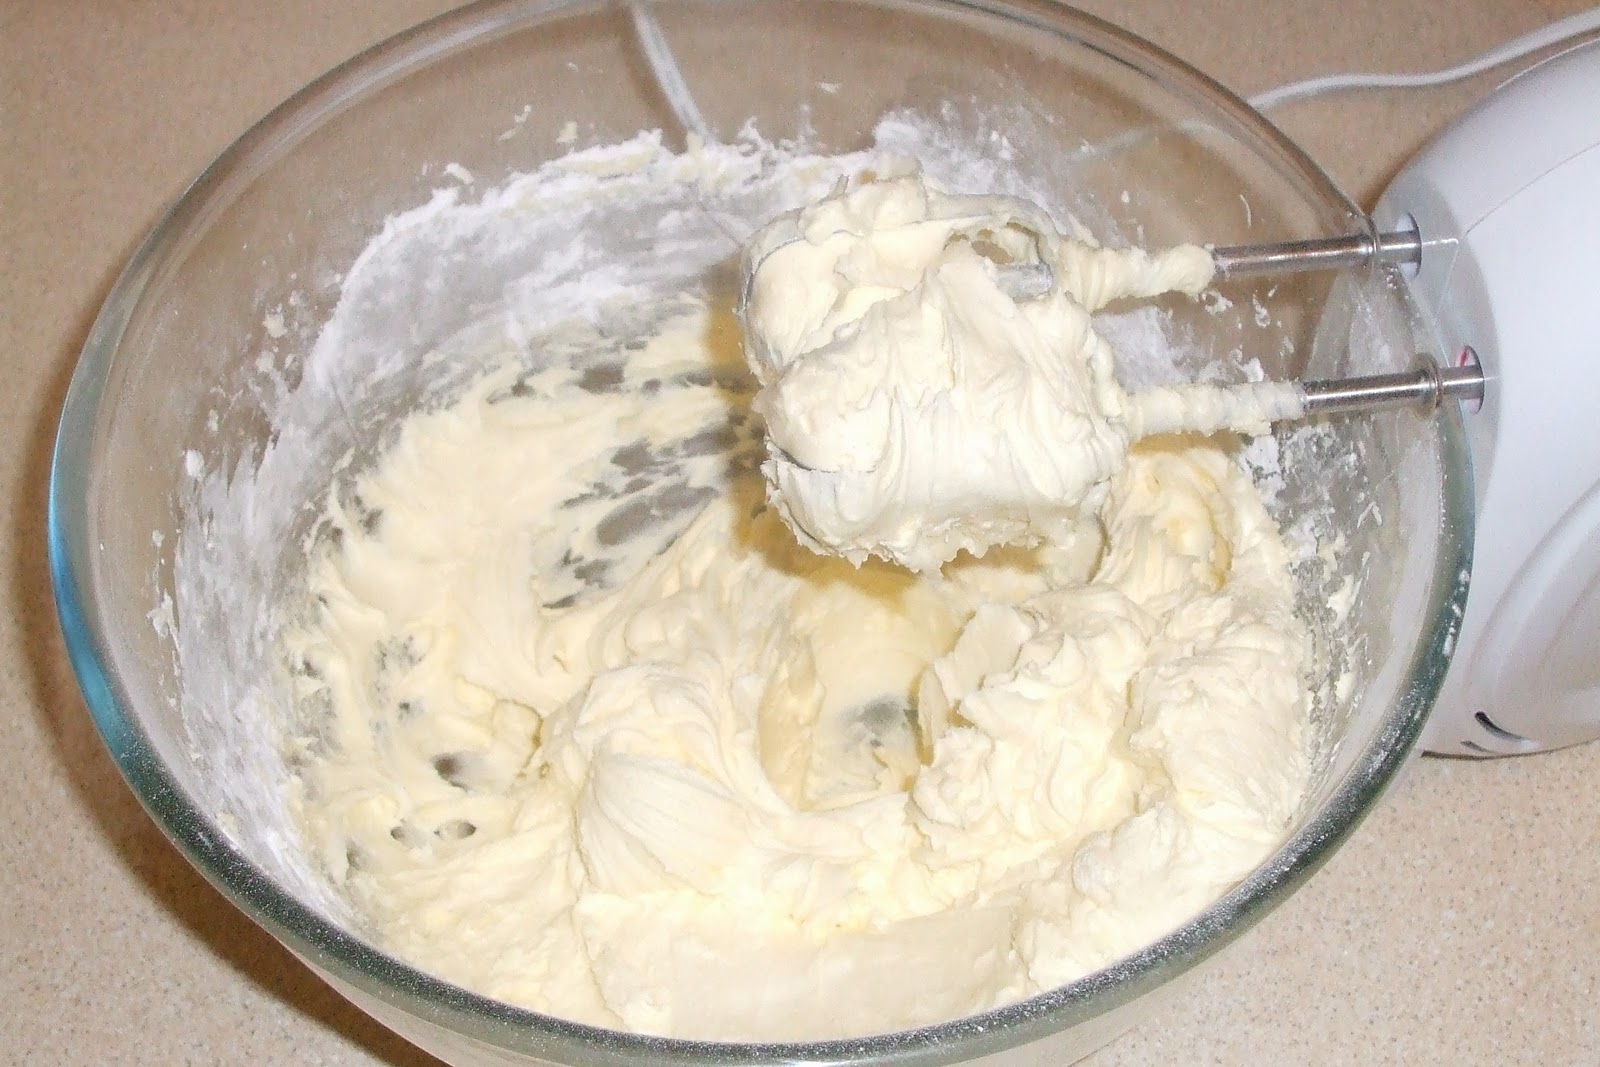
To make the frosting
1 - Combine the cream cheese and butter in the bowl of an
electric mixer and beat on medium-high speed until smooth, about 1 minute.
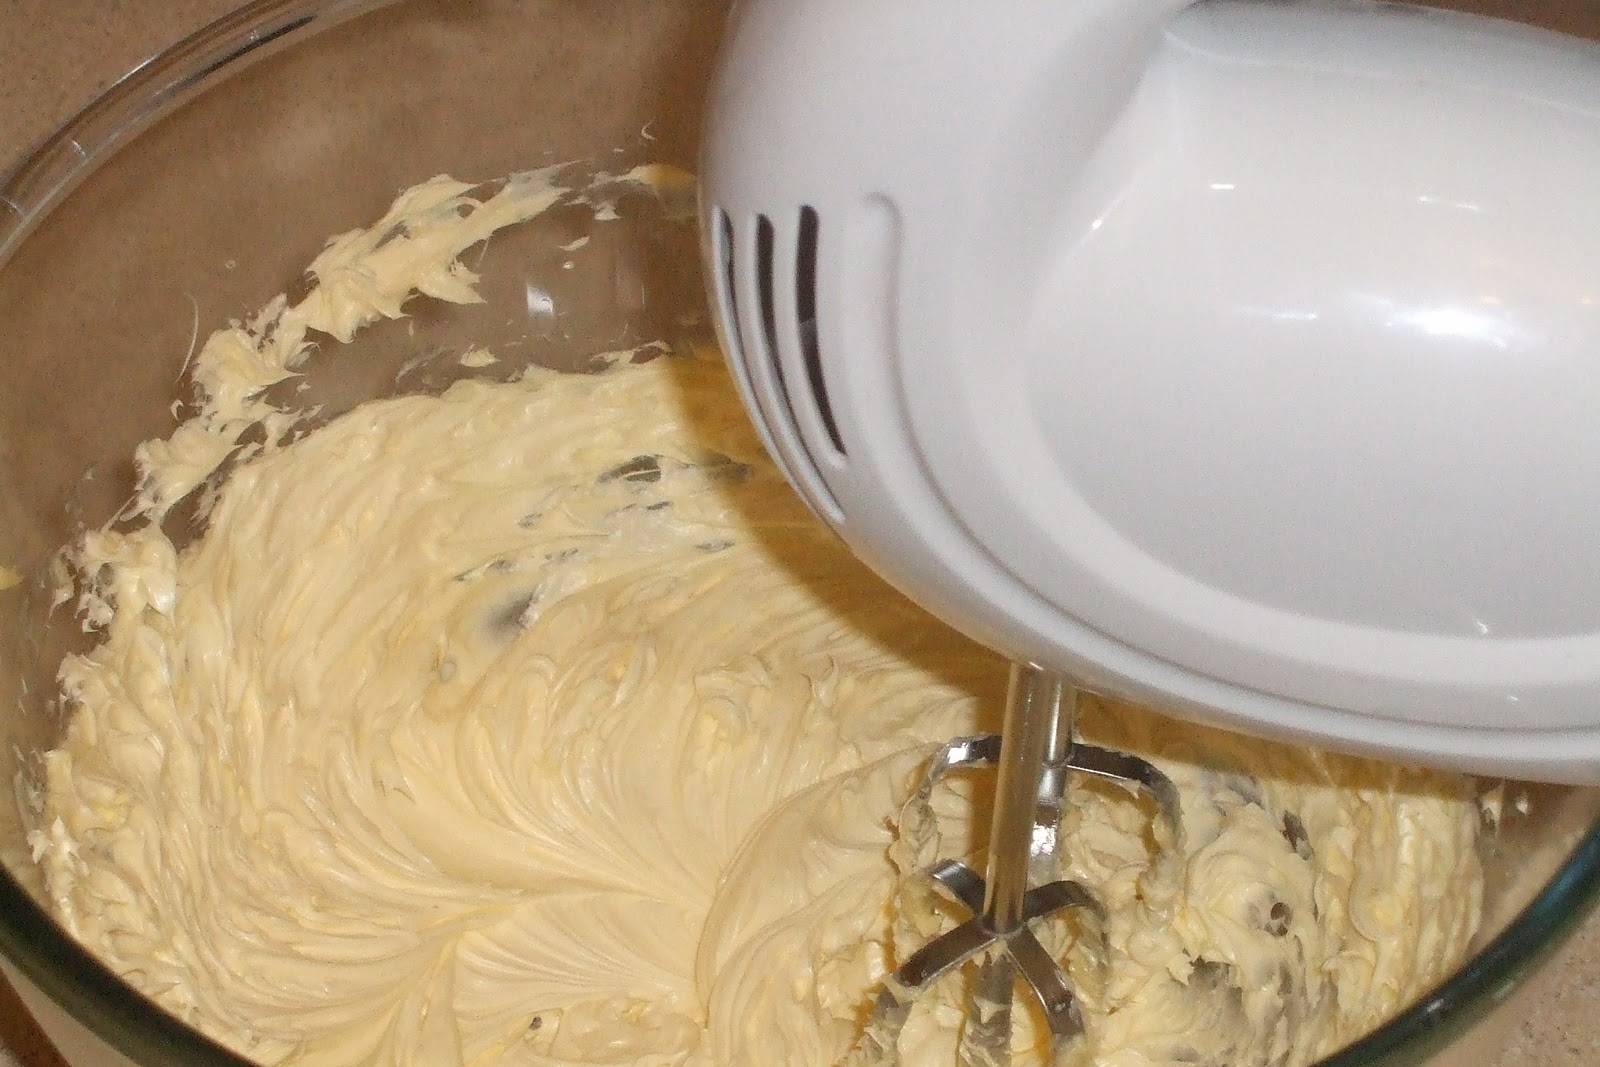
2 - Blend in the vanilla extract. Beat in the
confectioners’ sugar until incorporated and smooth, 1-2 minutes.
3 - Add the heavy cream to the bowl and beat on medium-low
speed just until incorporated, then increase the speed to medium-high and whip
for 4 minutes until light and fluffy, scraping down the sides of the bowl as
needed.
Frost the cooled cupcakes
as desired. Sprinkle with Oreo crumbs and garnish with Oreo halves.