Pages

Sunday, 17 June 2012

Chocolate Chip Cookie Dough Brownies

You all know how I love brownies! Well, I don't know if I've ever expressed on here how much I love cookie dough for fear that you'll judge me but here goes ...
I love the cookies I bake but I can tell you that without a doubt, no matter the kind of cookie, the unbaked cookie dough is oh, about 1,367,192 times better!

Until a few months ago, Waitrose used to sell a block of chocolate chip cookie dough which you were supposed to bake into about nine cookies. Before I became an avid baker, I'm ashamed to say I bought a block of this cookie dough to make cookies with. The cookies were average at best. The other 99 times I bought that cookie dough, it wouldn't even make it the ten minutes home on the bus before I cracked it open and started eating away at bits of cookie dough. Dessert for a few days would be a quarter of the block of dough straight from the fridge and eaten in tiny bits.

And before you start to think I'm a total weirdo (I totally am but would hate for you all to know it ;p), once I was waiting at the bus stop outside Waitrose when three teenage girls came out each with a pack of the very same cookie dough that I was addicted to. Two of them broke it open and started to pick at it just like I do! I may or may not have gone back in to buy myself a pack.

These brownies are my amazing brownie recipe on the bottom (I'm allowed to say it's amazing because it really is!) and then eggless raw cookie dough on top. Brownie + cookie dough. Brownie and cookie dough. Brownie ... cookie dough ... however you spin it, these are amazing!
I've adapted the brownie recipe a bit by reducing the sugar, using all brown sugar and omitting the chocolate chunks to make it slightly less sweet as the cookie dough is quite sweet too. These are currently my favourite spin on my brownie recipe; yup, they're even better than the Oreo brownies.

The cookie dough recipe is slightly adapted from another one of my favourite bakers; Brown Eyed Baker.

Ingredients

For the brownie
300g dark chocolate (At least 70% cocoa solids)
250g unsalted butter
175g plain flour
1 tsp baking powder
4 large eggs, lightly beaten
2 tsps vanilla essence
275g dark brown sugar
1 tablespoon instant coffee granules

For the cookie dough
170g unsalted butter
150g light brown sugar
170g caster sugar
3 tablespoons whole milk
1 1/2 tsps vanilla extract
190g plain flour

  1. Brownie: Preheat oven to 170C/325F/Gas Mark 3.
  2. Grease and flour a 30x20x3.5cm tin
  3. Break dark chocolate into pieces and melt with the butter in a bain marie
  4. Combine the flour and baking powder in a bowl and put aside
  5. When chocolate and butter is melted, remove from bain marie and stir in the brown sugar and instant coffee granules (because brown sugar can be lumpy, make sure you break up any lumps and mix sugar in properly)
  6. Stir in the eggs and vanilla essence
  7. Fold in the flour and pour mixture into the prepared tin.
  8. Bake in the oven for 25 - 35 minutes or until a skewer inserted comes out pretty much clean
  9. Remove from oven and leave to cool completely
  10. Cookie dough: In a medium bowl, use an electric mixer on medium speed to combine the butter and both the sugars
  11. Add the milk and vanilla and mix until combined
  12. Reduce the speed to low and mix in the flour until just combined. using a rubber spatula, stir in the chocolate chips
  13. Spread the cookie dough over the cooled brownies. Refrigerate until the dough is firm, about an hour. Use a sharp knife to cut the brownies.
  14. Store the brownies in an airtight container at cool room temperature or in the refrigerator. Remember to let brownies come to room temperature before you eat them if storing in the fridge. Cold brownies aren't great. 


Sunday, 10 June 2012

Creamy Caramel Cake and Peggy Porschen's 'Boutique Baking' Review

I have been an avid admirer of Peggy Porschen's for a while now. This manifests itself in my frequent perusal of her website, looking at her beautiful cakes, cupcakes and cookies, and putting together a wish list of courses I would do at the Academy if I had all the time and money in the world. Surprisingly, I hadn't owned any of her books until the lovely people at Quadrille Food sent me a review copy of 'Boutique Baking'.
After going through this book cover to cover and marking all the recipes that I wanted to try (as is my standard new baking book protocol), I was glad this was my first Peggy Porschen book, as going from my judgement of her other books, solely from their covers (as that one famous saying says you shouldn't do; and which I always do) this book appears to be a more beginners' guide to cake decorating that is expanded on in the other books. But rest assured, this is in no way full of amateur looking cakes. No siree! These are beautiful cakes that are accessible. Beautiful cakes that you or even I can make! And if you want something more challenging, there's something for you too. Try your hand at the intricate Glorious Victoria Cake or the fresh and pretty Scrumptious Carrot Cake.

I decided to start off with something a bit simpler; the 'Creamy Caramel Cake'; which I made to round off a lunch for some American guests. It's a great cake - albeit with relatively simpler flavours than I was expecting from a caramel cake - and was  an absolute hit with my guests. I only got to keep a small piece after we'd all had a piece and they requested some to take home. The cake was light and fluffy and the sugar syrup definitely adds a depth of flavour and moisture to the cake. I'd only used a sugar syrup once on a cake before now but will definitely be doing it again; probably when I try out all the other recipes in this book that I intend to.
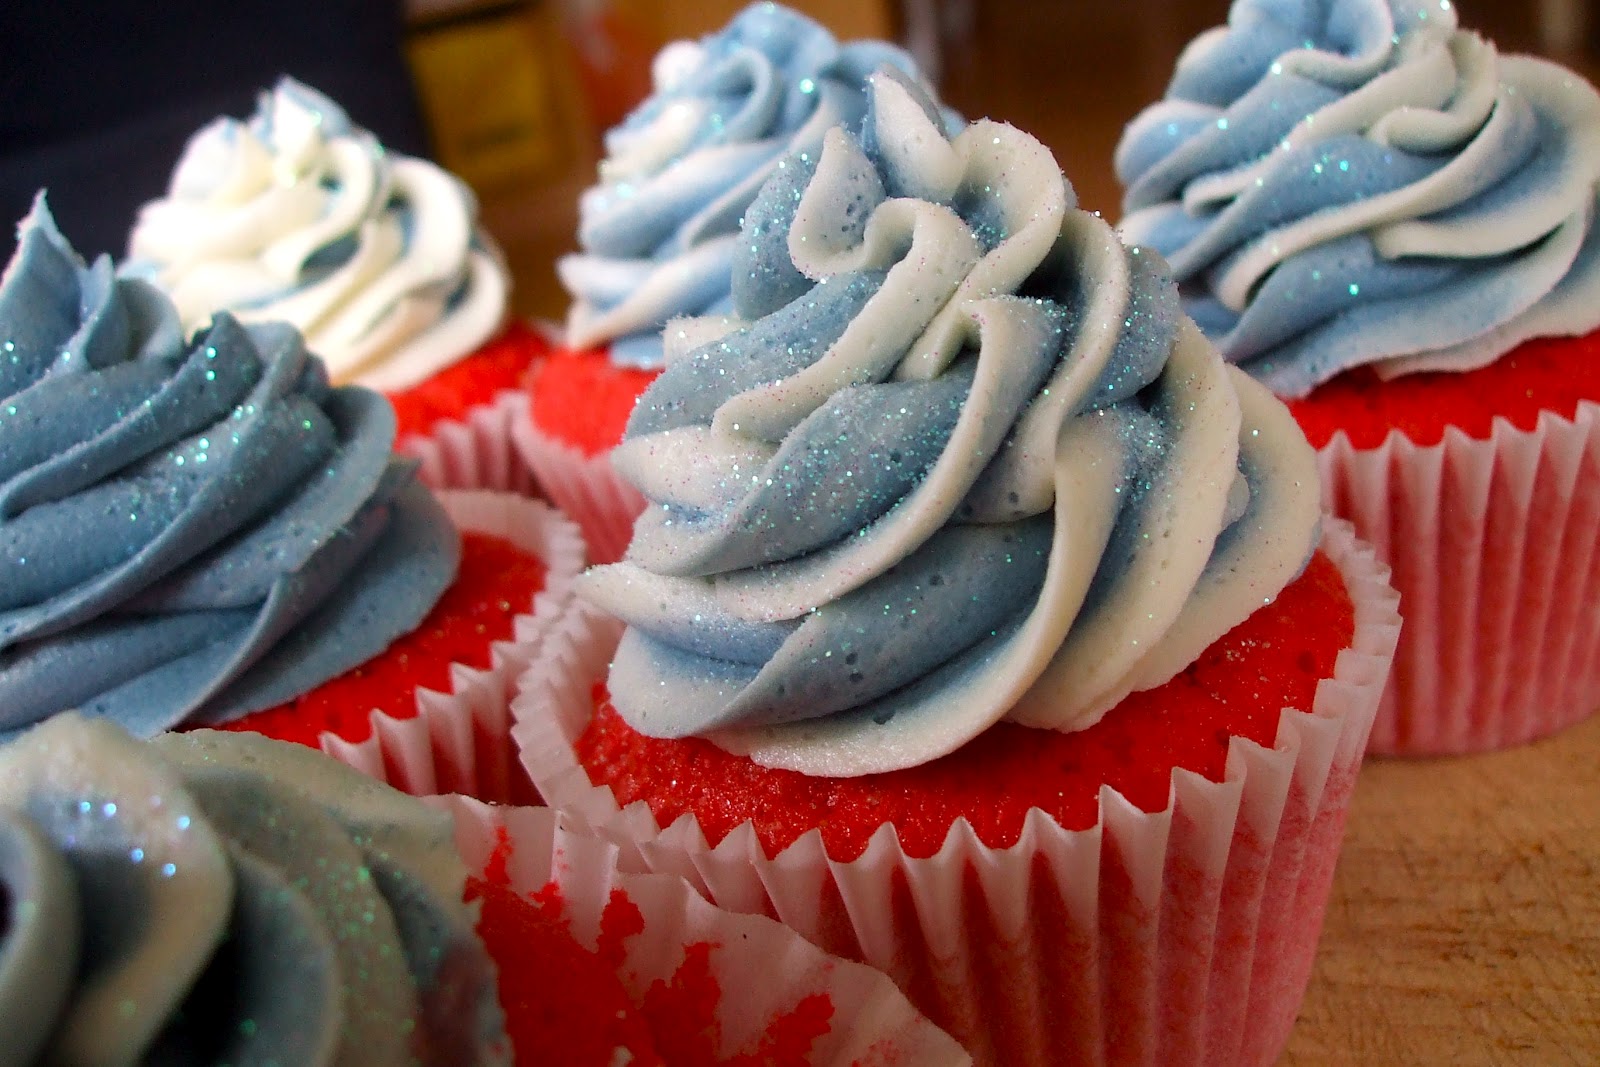
The more I flicked through this book oohing and aaahhing over the beautiful pictures of baked goods on each page (I'm a sucker for food porn), the more convinced I became that it is the perfect book for beginners to baking full stop. It covers sweet treats such as meringue kisses, biscuits, cupcakes, layer cakes, classic cakes and bakes - e.g. lemon, almond and poppy seed cake - and drinks. And for each recipe it contains detailed instructions and the equipment needed to make yours look just like the ones in the picture - which, let's be honest, is always what we're aiming for. I spent lots of time being disappointed when I first started baking because although my cake would taste pretty good, it would look nothing like the one in the picture because the mere line at the bottom of the recipe telling me something like "smooth on your frosting with a palette knife" simply wasn't sufficient instruction.
Boutique Baking's instructions can be intimidating at first glance as there are so many words, but you quickly become grateful for the step by step instructions and advice which you can always ignore or skip if you are an experienced baker/decorator.

Next on my list to try out is the Lemon Limoncello Cake. Or maybe the Cosmo Cupcakes. Or even the Sticky Toffee Cupcakes ... ahh who knows. What I do know is that I didn't win the Euromillions on Friday leaving me the time to take every single Peggy Porschen Academy course ever so instead I'm going to work through my favourites in this book and then graduate to one of her other books; probably 'Pretty Party Cakes' :)

Recipe from Peggy Porschen's 'Boutique Baking'.

Ingredients

For the sponge
200g unsalted butter, softened
200g caster sugar
Pinch of salt
Seeds of 1 vanilla pod
4 medium eggs
200g self-raising flour

For the sugar syrup
150ml water
150g caster sugar
scraped vanilla pod
2 tbsp Brandy

For the buttercream filling
100g unsalted butter
100g icing sugar, sifted
Pinch of salt
50g dulce de leche or a can of sweetened condensed milk boiled in water for 3 hours

For the decoration
About 2 tbsp cocoa powder

Equipment
Basic baking kit
Three 15cm (6in) round sandwich tins
Cake leveller or large serrated knife
Non-slip turntable
Flat disc to place on top of the turntable
15cm (6in) round cake card
Ridged side scraper (One from Wilton used in the book)

Bake the sponges one day ahead of serving.
Make the sugar syrup whilst baking the sponges. Prepare the filling and assemble and decorate the cake on the day of serving.
Dust the cake with the cocoa powder immediately before serving as, after a few hours, the cocoa powder may absorb moisture from the buttercream and appear wet.

Preheat the oven to 175C / Gas Mark 4.

Prepare the sandwich tins by greasing and lining them with greaseproof paper.

  1. To make the sponge - Place the butter, sugar, salt and vanilla seeds in a mixing bowl and cream together until pale and fluffy.
  2. Beat the eggs lightly in another bowl and slowly add to the butter mixture while whisking quickly. If the mixture starts to separate or curdle, stop adding the egg and beat in 2-3 tablespoons of flour. This will rebind the batter. Once all the egg has been added and combined with the butter mixture, sift in the flour and stir until the batter is just combined. This will ensure the sponges stay light and fluffy.
  3. Divide the batter evenly between the cake tins. If you find it difficult to measure by eye, use your kitchen scales to weigh out the amount of sponge mixture for each tin.
  4. Bake for 15 - 20 minutes, depending on your oven. If you are using deeper cake tins, the sponges will take longer to cook. The sponges are cooked when the sides are beginning to shrink away from the edges of the tins and the tops are golden brown and spring back to the touch. If in doubt, insert a clean knife or wooden skewer into the centre of each sponge; it should come out clean.
  5. To make the sugar syrup - While the sponges are baking, prepare the sugar syrup for soaking. Place the water, caster sugar and vanilla pod in a saucepan and bring to the boil. Simmer until all the sugar crystals have dissolved. Set aside to cool and then add the brandy.
  6. Once the sponges are baked, let them rest for about 10 minutes outside of the oven. Using a pastry brush, soak the top of the sponges with syrup while they are still warm; this allows the syrup to be absorbed faster.
  7. Once just warm, run a knife all the way round the sides of the tins, remove the sponges from the tins and leave to cool completely on a wire cooling rack.
  8. Once cool, wrap the sponges in cling film and then rest them overnight at room temperature. This will ensure that all the moisture is sealed in and the sponges firm up to the perfect texture for trimming and layering. When trimmed too soon after baking, the sponges tend to crumble and may even break to pieces.
  9. To make the buttercream filling - Place the butter, icing sugar and salt into a mixing bowl and cream together until very pale and fluffy.
  10. Add the dulce de leche to the mixture and stir through until combined and smooth
  11. To assemble the cake - Trim and sandwich together the three sponge layers using one-third of the butter cream filling. With the remaining buttercream filling, cover or mask the top and sides of the cake.
  12. To decorate - Cover the chilled cake with another generous layer of buttercream and, using a side-scraper with ridges, created a sculpted barrel design. If you are unable to achieve a perfect sculpted side on your first attempt, simply scrape off any excess buttercream and repeat the process until you are happy with the result. Clean up the top with a palette knife.
  13. Chill until set. Dust the top of the cake liberally with cocoa powder before serving.
Serve the cake at room temperature. This cake is best enjoyed within 3 days of baking but it can last for up to 1 week.

Monday, 4 June 2012

Champagne and Raspberry Jubilee Cupcakes

I rarely have the time or the organisational skills required to bake and do posts for holidays and occasions e.g. Halloween, Valentines day, Thanksgiving ... you get the gist. I'm also not that into the royal family - though I do love the extra day of holiday they've given us two years in a row; thanks Queenie! - so it is against all the odds that I actually baked something in honour of the Queen's Diamond Jubilee! Okay, so it's a couple of days late, but who's counting? Plus, this was actually ready yesterday but it was a sad day so posting a celebration recipe wasn't something I really felt like doing.

I dedicate this post to Onada; whose favourite books are 'The Other Boleyn Girl' and a book on Marie Antoinette, is mildly interested obsessed with the royal family, owns a Kate and Will wedding souvenir mug, and never tires of telling me that if she were queen, she'd send me to the tower as my indifference to the royals constitutes treason. Thank goodness she's not queen!

Since I had an open bottle of champagne and have been wanting to try this recipe from Cuckoo's Bakery in Edinburgh via Stylist Magazine, it was the perfect occasion. I'm as indifferent towards champagne as I am the royal family - I'll drink it but I'd never ask for it - but these cupcakes make champagne taste good! You can't taste the champagne in the soft, delicate cake once they've been baked but the flavour is clear in the filling and the frosting. Clear, but not overwhelming and it helps to temper down the sweetness of those two elements of the cupcake. It is an amazing cupcake! Maybe my favourite cupcake I've ever made!

As you can see, I tried to do the red, white and blue of the British flag but without much success. My cakes turned out pink rather than red and my blue is sky blue rather than navy. Ah well, who cares with cupcakes so good!

 Ingredients

160g unsalted butter
160g caster sugar
170g plain flour
2 1/2 tsps baking powder
3 large eggs, room temperature
3 tbsps champagne

125g unsalted butter at room temperature
275g icing sugar, sifted
4 tbsps champagne

8 tbsps raspberry jam
4 tbsps champagne
  1. For the cake: Preheat oven to 180C / Gas Mark 4 / 350F. Line a cupcake tin with 12 cupcake cases
  2. Cream the butter and sugar for two minutes using an electric mixer
  3. Crack the eggs into a jug and lightly beat them, add the champagne to them
  4. Combine the flour and baking powder in a bowl and add to creamed butter and sugar mixture
  5. Add the egg and champagne to the bowl
  6. Mix them at a medium speed for two minutes, scraping down the bowl as necessary
  7. Divide the batter among liners and bake for 18 minutes. Insert toothpick to test. They are ready if the toothpick comes out clean. Remove from oven and leave to cool on a rack
  8. For the buttercream: Place the butter into a mixing bowl and mix with an electric hand mixer until soft and whippy, about 2 minutes
  9. Sift the icing sugar into the bowl and slowly blend with the mixer. Increase the speed of the mixer slightly and beat together for 4 to 5 minutes, scraping down the side of the bowl as necessary
  10. Add the champagne and mix everything together for a further one minute at a slow speed
  11. Filling: Mix the raspberry jam and champagne together in a bowl
  12. Using an apple corer (or just a regular knife as I did), core out the centre of each cooled cake
  13. Using a teaspoon, fill the cored out cake with the champagne jam mixture and replace the cored out sponge back into the cake (You'll probably have to cut off most of the sponge from the middle and only put the cored out top back onto the cupcake)
  14. To decorate: Frost each of the cakes with a palette knife or piping bag and nozzle. Decorate with your favourite sprinkles, a cocktail firework or a fresh raspberry.

Friday, 1 June 2012

Spinach and Coconut Milk Soup


I think it's time to clear up a rumour. Y'all know what I'm talking about.
The rumour that I don't eat anything but cake! For the record, I am stating that that is categorically untrue!
I eat LOTS of other stuff!
I eat cookies. And brownies. Let's not forget pies and chocolate and Blondies.
So I hope we've settled that pesky little tit bit.

On the real though (does it make me sound young and hip when I say that because I feel like it does), while I do eat lots of sugar based products, I also eat real food from time to time. But you know what I don't eat much of? Soups. Because let's be honest, they're usually not very tasty. The exception to that rule was Nigerian pepper soup and now, this recipe by Nigella Lawson has joined the ranks of soups I love.

You want to know the best part? No, not that it's heatlhy, although obviously that is an advantage and pretty contrary to everything else on this blog. No, the best bit is that it literally takes 15 minutes to make! And unless you want the chopped chillies in it, there's no chopping involved. It's easy!

By the way, has anybody read 'The Hunger Games' trilogy? I'm on the last few pages of the last book; The Mockingjay, and I'm not very happy with the way it's ending. Actually, it's downright disappointing. Endings seem to be going through a sucky phase right now. I watched the season finale of Grey's Anatomy the other day and it broke my heart. Why do the writers keep doing this to me?! What do you mean it's not about me?
Anyway, more about The Hunger Games on a later post.

Enjoy the loooong bank holiday weekend and the Queen's Jubilee celebrations!

Ingredients

2 x 15ml tbsps Thai green curry paste
400ml can coconut milk (I used light coconut milk)
500g frozen chopped spinach (I found it in the freezer section at Sainsburys)
250ml freshly boiled water
1tsp marigold or other vegetable bouillon powder (I think this would taste awesome if you replaced the water and bouillon powder with fresh chicken or meat stock instead)
1 red chilli, deseeded and chopped, optional


  1. Put the curry paste into a medium-sized saucepan or casserole with a lid, and add a few tablespoons of the coconut milk to whisk it into a paste over the heat.
  2. Stir in the remaining coconut milk, and add the frozen spinach chunks. Stir, then pour over the boiled water. (It should almost cover the spinach, but not quite).
  3. Add the vegetable bouillon powder and stir to mix. Bring soup to the boil before putting on the lid and turning the heat down, so that the soup cooks at a gentle simmer for 10 minutes.
  4. When serving, if so wished, sprinkle each bowl with chopped red chilli.
Serves 2 - 4

Monday, 21 May 2012

Kit Kat Cookie Bars and Being Thankful

 
In my church, this month of May is thanks giving month. Not Thanksgiving like the American holiday but just giving thanks. Pretty simple right? Throughout the month of May, we are encouraged to tweet or update our Facebook statuses at least once a day with something we're thankful for. I love the idea! We all have so much to be thankful for but we tend to ignore that stuff and instead focus on the things we're unhappy about.

I also read this article today which I absolutely loved and it has the same message; be thankful! It's called "Eat this and be wildly grateful". You should all read it! But just in case you don't, here's a great excerpt from it:

 "Be cynical if you want. Be jaded and sneery and think the world is a razor blade of anger and pain, just waiting to slash you across the heart. This is your choice. 
But the fact is, a thousand things go right for you every day. From the moment you wake up, the universe aligns in countless miraculous ways to make your life happen fluidly, effortlessly, incredibly. Your heart is working, your systems function, you do not instantly collapse, lose a limb or spontaneously combust. Amazing. 
The car starts. The elevator works. Your legs transport you rather beautifully, hither and yon. The coffee is hot. The food placed before you is all kinds of stunning in how it connects you to the world. There's sunlight. Your eyes receive that light and create everything in existence. Also, trees! Nice."

Here are just a few of the things I'm thankful for:
I am thankful for my family. And my friends. And my church. I'm thankful that I have a lovely home and I've never known what it is to starve (unless it has been self imposed in the name of dieting!). I am thankful for music. And so so thankful for books. And movies. I am thankful for Ryan Gosling and Joshua Jackson and 'Dawson's Creek' and 'Sex and the City'. I am thankful for sugar and all the wonderful cakes and brownies and cookies and desserts that its existence makes possible! I have so much to be thankful for but since I'm stuck on desserts (mmmmm ... pies), I'll leave you with today's recipe for Kit Kat Cookie Bars.

Cookie bars are yet another American invention I presume and they're actually an amazing alternative to rolling or scooping out bits of dough to make cookies! These are nice and chewy and they contain Kit Kats, what else do you need to know? ;) Oooh, have I said I'm thankful for chocolate yet? If not, I'm VERY thankful for chocolate!

Recipe from Sweet Pea's Kitchen 

2 1/8 cups plain flour
1/2 tsp table salt
1/2 tsp baking soda
170g butter, melted and cooled slightly
1 cup brown sugar
1/2 cup white sugar
1 large egg
1 large egg yolk
2 tsps vanilla extract
3 four-finger Kit Kat bars, chopped
1 cup milk chocolate chips

  1. Heat oven to 170C / Gas Mark 3 / 32F. Butter the bottom and sides of a 9" x 13" baking pan. Put a long sheet of grease proof paper in the bottom of the pan, letting the paper extend up two sides of the pan and overhang slightly on both ends. Place another piece of paper in the same manner, perpendicular to the first sheet. (This will make it easy to remove the bars from the pan after they have baked). Butter the parchment.
  2. In a medium bowl, whisk together flour, salt, and baking soda; set aside.
  3. In a large bowl, whisk together melted butter and sugars until combined. Add egg, egg yolk and vanilla and mix well. 
  4. Using a rubber spatula, fold dry ingredients into egg mixture until just combined. Fold in chopped Kit Kat bars and milk chocolate chip. Transfer to baking pan and smooth the top with a spatula.
  5. Bake until top is light golden brown, slightly firm to the touch and the edges start pulling away from sides of pan, 27 - 30 minutes. Cool on a wire rack to room temperature. Remove bars from pan by lifting the parchment overhang and transfer to cutting board. Cut into squares and serve.


Tuesday, 24 April 2012

Strawberry and Almond Crumble and Being a Bonafide Marathon Runner


I did it! I did it! I did it, did it, did it! If you're wondering what 'it' is, duh, 'it' is the Virgin London Marathon 2012. I did it! Ran it (with a bit of walking ;p), completed it, crossed the finish line and am currently in possession of a nice bit of  gold bling (medal) to show for my efforts as well as a t-shirt which I've slept in every night since and intend to sleep in for the rest of my life!

It was tough! I walked more than I would have liked, and sooner than I would have liked but I expected it to be tough. What I didn't expect it to be was fun! When people talked to me about the atmosphere and enjoying it, truth be told I was thinking "It's a marathon crazy person! How the heck am I supposed to enjoy running 26.2 miles?!" But I did! I really did! The first 15 miles were honestly fun! Running through residential areas where everyone had come out of their houses with sweets, music, banners, home baked treats and orange segments, hi fiving outstretched children's hands as we ran past, singing along to "I'm Slim Shady, yeah I'm the real Shady, all you other Slim Shadies are just here maintaining so won't the real Slim Shady please stand up, please stand up, please stand up" and running next to my sister who pretty much danced the whole way, I honestly felt like I was at a party. Albeit a party full of crazy people whose idea of a good time is running!

And then mile 17 hit and it got hard. I was way past halfway and felt like I was almost there till I did the math and realised that I had 9 more miles to go. And it was kinda a long hard slog from then but you know what? The good definitely outweighed the bad! Or maybe it's like childbirth and the adrenalin has made me forget how tough it was?  Whatever. All I know is there are definitely more marathons in my future!

I made this the day before the marathon as part of our huge carb-loading lunch. It's from the lovely Nigella Lawson's book 'Kitchen'.

Ingredients

For the filling
500g strawberries, hulled
50g caster sugar
25g ground almonds
4 tsp vanilla extract

For the topping
110g plain flour
1 tsp baking powder
75g cold butter, diced
100g flaked almonds
75g demerara sugar
Double cream or vanilla ice cream to serve


1 - Preheat the oven to 200C/400F/Gas Mark 6. Put the hulled strawberries into your pie dish (approx. 21cm/10in diameter x 3cm/2in deep and 1.25 litre/2 pints capacity) and sprinkle over the sugar, almonds and vanilla extract. Give the dish a good shake or two to mix the ingredients.
2 - Now for the crumble topping: put the flour and baking powder in a mixing bowl and rub in the cold, diced butter between thumb and fingers (or in a freestanding mixer or food processor). When you've finished, it should resemble rough, pale oatmeal.
3 - Stir in the flaked almonds and demerera sugar with a fork.
4 - Tip the topping over the strawberry filling, covering the strawberries in an even layer and pressing the topping in a little at the edges of the dish.
5 - Set the dish on a baking sheet and bake in the oven for 30 minutes, by which time the crumble topping will have darkened to a pale gold and some pink-red juices will be seeping and bubbling out at the edges.
6 - Leave to stand for 10 minutes before serving.
7 - Serve with chilled double cream or vanilla ice cream.
Tip: The crumble can be assembled one day ahead. Cover with cling film and store in fridge until needed. Bake as directed in the recipe, but allowing an extra 5 - 10 minutes' cooking time. Check crumble is piping hot in the centre.
Crumble topping can also be made and frozen in resealable plastic bags, for up to 3 months. Sprinkle the topping direct from the freezer over the fruit, breaking up large lumps with your hands.
Alternatively, the assembled but unbaked crumble can be frozen, wrapped in a double layer of cling film and aluminium foil, for up to 3 months. Defrost for 24 hours in the fridge and bake as above.

Sunday, 15 April 2012

White Chocolate Chip Blondies

Happy Easter all! And if you were about to accuse me of being late to issue those wishes, I'll have you know that today is Greek Easter and as I'm half Greek, I'm in fact right on time :)

How did you all spend your non-Greek Easter? I have to say it actually passed me by as I was in New York and lots of people over there don't have the Friday and Monday off work like we do here and on the Sunday, we were making our way back to NYC from a wedding in Maryland so yeah, I barely even noticed it was Easter. I didn't even get a chocolate egg :(

NYC was amazeballs as usual! I stayed with the amazing Onada and her husband (thanks again!) My time there flew by and I wasn't ready to come back but not to worry, while I was there, I sampled lots and lots of cupcakes! See my list below! This is in no particular order as they were all really good!

1) Sprinkles: I had the Brown Sugar Praline cupcake and it was yummy! Caramel cake with brown sugar frosting and topped with crunchy praline! Their cake was light and fresh and the frosting not too sweet!
2) Magnolia: I went to the shop in Bloomingdales and had a lemon cupcake! It was filled with lemon cream and tasted exactly as a lemon cupcake should! I'mma search through my two Magnolia baking books in search of this recipe!
3) Crumbs: Seriously huge cupcakes! And soooo many flavours! If you're intending to buy only one (like I was), this could be one of the hardest decisions you ever have to mae! Did I mention that they're almost all filled cupcakes? I can't remember what I had but it was really good!
4) Two Little Red Hens: This is a really cute bake shop with wonderful looking layer cakes. I had a yellow cake with meringue frosting which I wasn't too keen on. It's the meringue frosting which is so popular in the US that was the problem. It tastes like butter! Give me good old buttercream or cream cheese frosting any day! But I went back and had a Boston Cream Pie cupcake which was very good! The sponge fluffy and light, the pastry cream tasty and covered in chocolate ganache.

Anyway, back to reality - where I have to bake my own desserts.

These blondies were supposed be funfetti (American word for sprinkles) blondies but I guess my sprinkles were too small (unlike the probably massive sprinkles the Americans have - y'know, with everything being bigger there and all) and melted into the batter. Head on over to Beantown Baker's blog to see what they look like with sprinkles. They were very very good though! The almond extract gives them a really special flavour. I can't wait to make them again!

Ingredients

198g butter, melted
1 1/2 cups brown sugar
1/2 cup caster sugar
2 eggs
1 tsp vanilla
1 tsp almond extract
2 cups flour
1/2 tsp salt
1/2 tsp baking powder
1 cup white chocolate chips
  1. Preheat oven to 180C / Gas Mark 4 / 350F
  2. Line a 9 x 13inch pan with greaseproof paper and grease lightly
  3. In a large, microwave safe mixing bowl, melt the butter. Allow to cool for 5 minutes
  4. Mix the sugars with the melted butter and beat until smooth. Beat in egg and then the extracts.
  5. Add salt, stir in flour and baking powder. Stir in white chocolate chips.
  6. Pour into prepared pan and use a greased spatula to evenly spread mixture in pan and level the top. Bake for 24 - 28 minutes or until set in the middle. Cool on rack before cutting.